- 01724 330264
- 07948212923
- info@rf-electrical.com
Simply fill out our quick contact form to get started.
Your journey with us starts by reaching out.
Whether you’re contemplating rewiring your house or ensuring the safety of your electrical system, R.F. Electrical Ltd is ready to help.
You can contact us by phone at 01724 330264, 07948212923 email us at info@rfelectrical.co.uk, or use one of the convenient contact forms on our website.
Alternatively, you can utilize our convenient fusebox finder tool to receive detailed information about the age of your installation. Additionally, we maintain a strong presence on popular social media platforms such as Facebook, Instagram, and LinkedIn.
Upon receiving your inquiry, our office will gather your details and briefly discuss your project. We can provide estimated costs and share examples of similar rewiring projects we’ve completed in your area or even on your street.
Our lead electrician, Ryan, will then schedule a visit to your property at your convenience. The survey process is brief, as our experienced electricians have rewired numerous homes in Glasgow, Edinburgh, and Paisley. We’ll gather some basic information and discuss your electrical requirements.
We aim to send a quote for a full rewiring project within a few hours, and we hope to be selected to undertake the rewiring of your home.

Enhancing the safety of your home is crucial. With a few simple upgrades, we can significantly improve the safety of your electrical system.
Our comprehensive approach involves identifying and addressing any potential issues, ensuring that every aspect of your electrical system is modern, safe, and fully certified.
Our services offer competitive rates without compromising on quality workmanship or safety standards.
We bring extensive experience and expertise to tackle even the most challenging electrical projects with confidence.
Our team arrives promptly in the morning, ready to begin work.
Prior arrangements and property organization should be completed before our arrival.
We’ll spend time discussing the positioning and layout of your new electrical system. While some clients may have already planned this, others rely on our electricians’ expertise for guidance on the optimal layout.
For more detailed information on specifying your new electrical system, refer to our resources.
By now, you should have received instructions on how to prepare for our arrival.
In occupied homes, we begin by protecting your belongings with dust sheets and organizing any remaining furniture. Then, we lift floor coverings like carpets.
Our electricians are highly experienced in rewiring, so planning and discussing the best approach for each property only takes a short time.
A brief site meeting is held among our team to assign tasks, address any challenges, and determine the optimal way forward.

Ensuring your original electrical supply is isolated is crucial to ensure all old electrics are deactivated and safe for work. Our electricians follow a safe isolation procedure to guarantee their safety throughout the process. Additionally, we install a temporary electrical supply to power our tools, chargers, and temporary lighting during the rewiring process.

With the messy tasks completed and routes established, it's time for a break. We regroup, remove heavy tools, and thoroughly clean the area. Ensuring the working area is free and ready for wiring is essential for efficiency and safety.

Typically, properties feature floorboards, and beneath these lies the primary route for our electrical cables. During the initial stages of your full electrical rewire, we allocate the first few hours to lifting the necessary floorboards and establishing suitable routes for installing your new 240v cables.

At this stage, our electricians utilize their technical expertise to wire the property in accordance with 18th edition wiring regulations. We carefully select cables rated for each circuit to prevent overheating and ensure that each circuit can adequately power your devices and appliances.

With the routes established under the floors, we proceed to the next phase, which involves the messy but essential task of burying cables within the walls. Many clients prefer this method for a neater appearance. Using a chasing machine, we effortlessly cut through the brick, then carefully chip out the remaining brickwork to create a neat channel for placing the 240v electrical cables.
In a standard property, you can expect to find the following circuits
We allow a few spare circuits within your new 18th Edition Duel RCD or RCBO consumer unit. Examples of additional circuits may be
Once all the necessary electrical cables are installed, it’s time to begin restoring your home. Firstly, we conduct a thorough inspection to ensure nothing has been overlooked. We double-check that all new cabling is in good condition, free from any accidental damage or potential risks.

At this stage, we begin installing the electrical back boxes. Galvanized boxes are available in 1-gang or 2-gang versions, and we select the appropriate box for each accessory. These boxes feature threaded lugs, allowing us to securely attach sockets and switches. They also provide space for making any necessary connections at the rear of the switch. Once selected, the boxes are securely screwed to the wall. To create an entry point for your new electrical wiring, we use rubber grommets, ensuring a safe and tidy installation.

While various methods exist for protecting electric cables, at HomeRewire, we prefer to use galvanized metal capping. This thin protective covering is placed over the cables, providing a neat, professional finish. Additionally, it supports the cable route and offers some protection against other trades, such as plasterers, ensuring the integrity of the electrical installation.

Next, we begin to reassemble the property, typically starting by re-laying any floorboards and closing up any spaces we accessed during the rewiring process. The property is gradually returning to its normal appearance, and at this point, we take a brief rest for another sweep, regrouping, and discussion about the next steps.
Now, it’s time for our trusted plasterers to work their magic.
You can find detailed information about the plastering aspect of rewiring on our website, or check out our informative video on the subject.
As you might have guessed, rewiring can be a messy process. Cutting into the brickwork of your home necessitates wall repairs. Our plasterers arrive at this stage of the rewiring process and begin with the initial bonding coat. During this time, we aim to give the plasterers space to work, so you’ll find our electricians focusing on second fix items such as installing your new consumer unit, external lighting, or other areas that don’t require extensive plaster repairs.
Once the plastering is complete, it provides a smooth surface for our rewiring electricians to securely attach the new faceplates.
We’re nearing the conclusion of the project. With the hard work behind us, it’s time to terminate all the new electrical accessories and products throughout your home.
We utilize electrical side pliers to strip back the PVC Twin and Earth cable, exposing the inner core. At the very end, the inner core is stripped to reveal a small copper section. This copper section is crucial as it carries the electrical current and must connect to the terminals of the electrical accessories. It’s connected at the circuit breaker and then at each individual electrical accessory, ensuring the electrical current is distributed where needed. The PVC insulation serves to protect anyone from coming into contact with the copper part and receiving an electrical shock.
In a standard property, you can expect to find various types of electrical switchgear accessories, including
The “A” indicates how many amps that accessory can safety handle.
Other Electrical Products Often Installed…
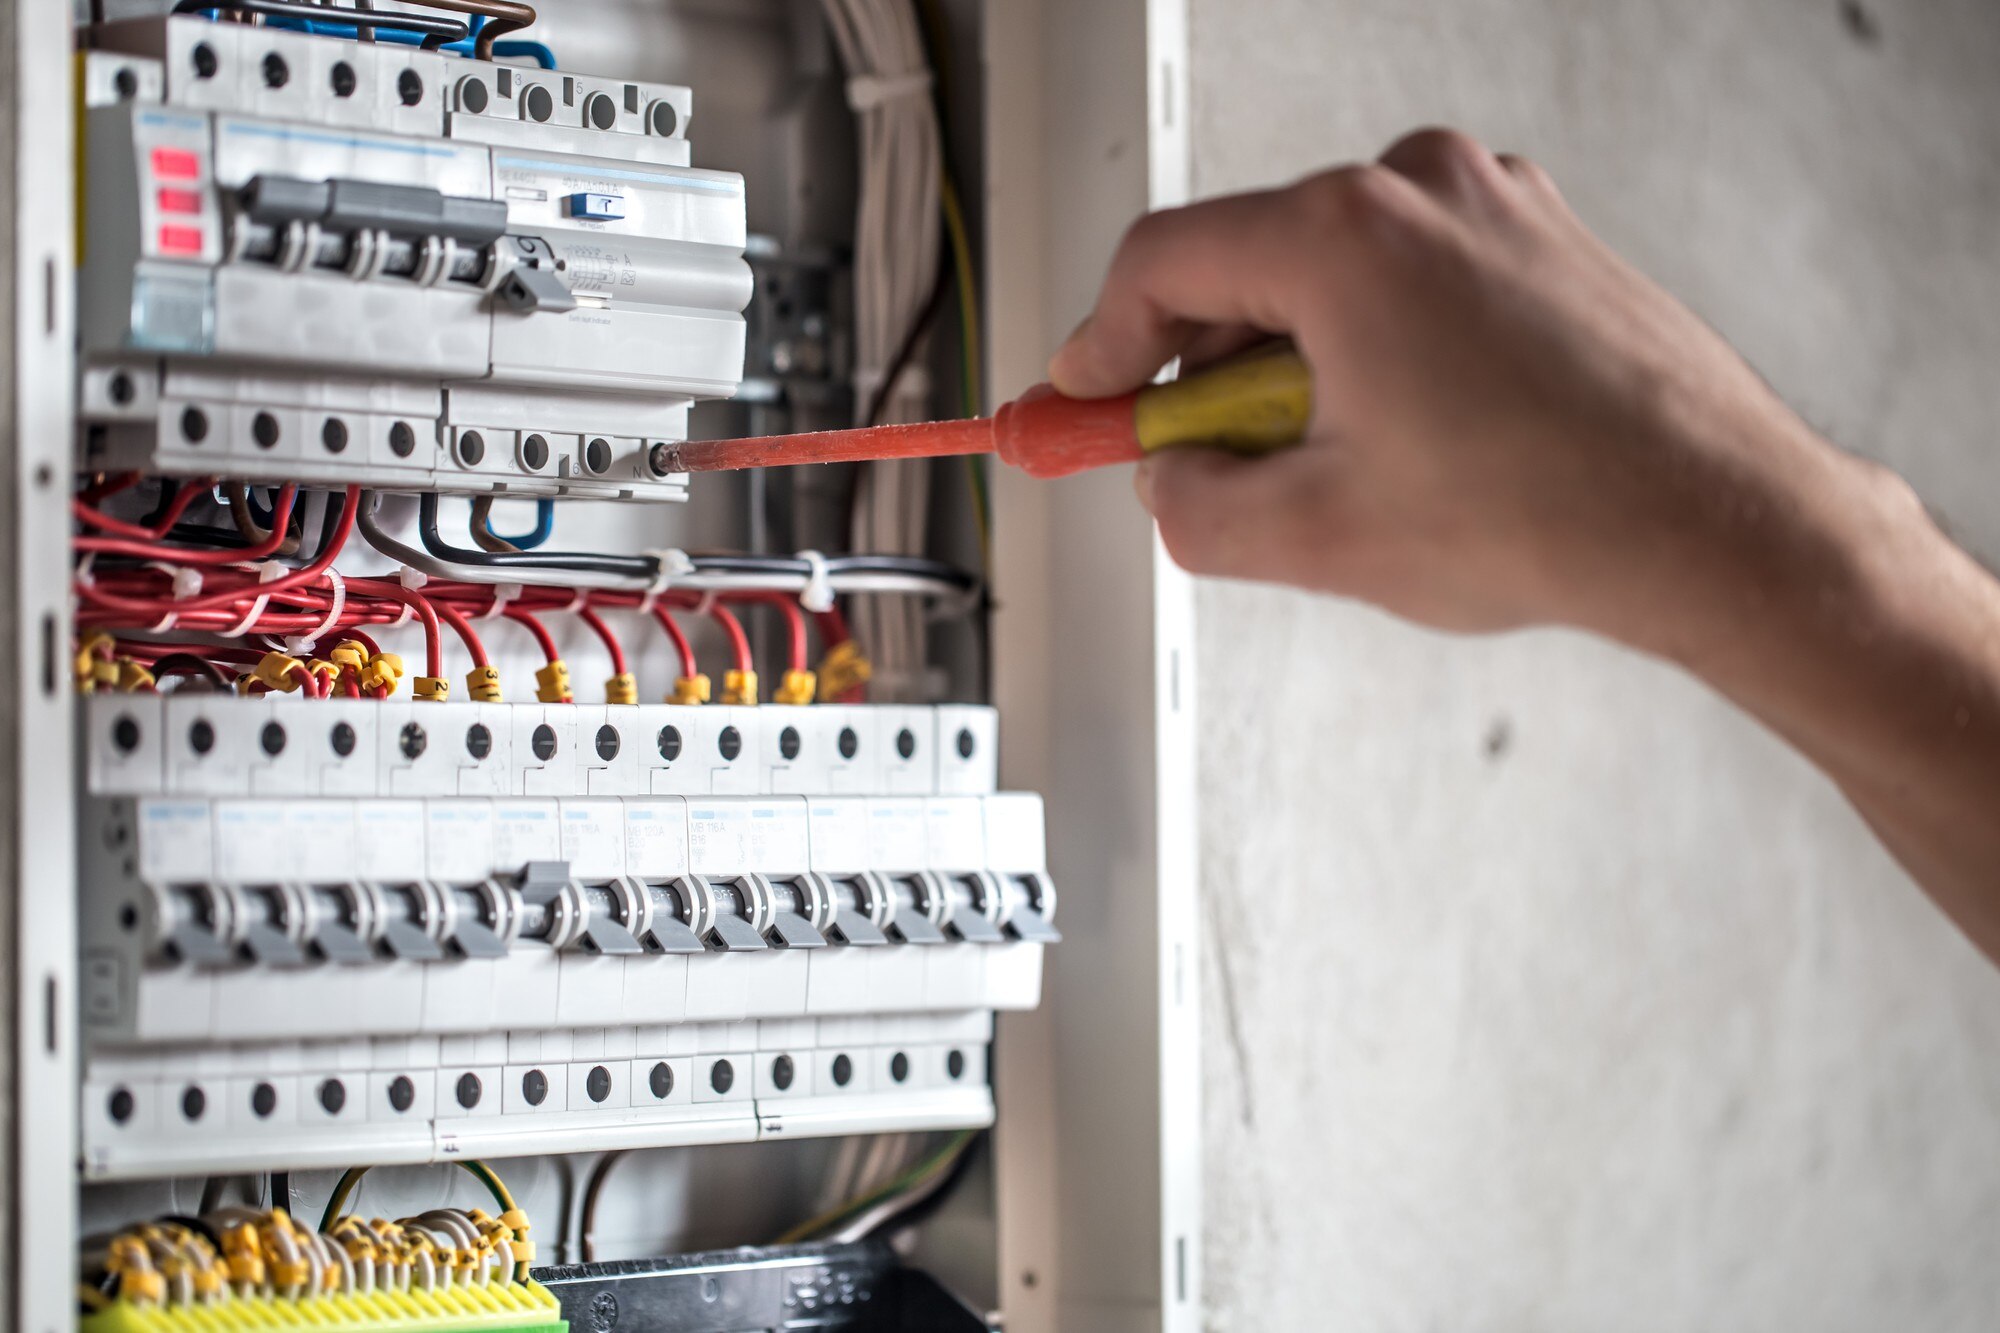
The consumer unit, often referred to as a distribution unit, serves as the central point where all electrical accessories and products are connected to the preinstalled wiring. It distributes electricity throughout the property, providing protection and control for each circuit through circuit breakers or fuses.

In short, the consumer unit takes the main power supply and distributes it into smaller cables installed to power your accessories. It incorporates safety features and switching options, allowing you to safely isolate each individual circuit. The trip switches automatically turn off if a fault is detected in the system.
If not completed already by now, one of our trained electricians connects all the cables together at the consumer unit in preparation for powering up the system.
We use electrical test equipment to conduct preliminary electrical testing, ensuring the cables are safe to energize. While further tests are necessary once the power is switched on, our initial testing is essential to ensure proper functionality and to prevent any potential faults.
The Exciting Part!
Now is the moment we get to witness all that initial hard work come to fruition, quite literally.
We begin by switching on the main switch and then energizing each of your new electrical circuits one by one. It’s truly satisfying to see the property light up, providing a great sense of achievement. Our electricians promptly conduct some functional tests, such as switching the light switches and testing the sockets with some loads.
Once all electrical works are completed, we proceed with the major cleanup. Electrical rewiring can generate a significant amount of dust, so thorough prior preparations are essential to minimize mess.
We utilize dust extraction equipment whenever possible to reduce the scale of the mess. However, due to the disruptive nature of the building works, some dust is inevitable. We clean at each stage of the job and then focus on the final clean-up.
With the carpets laid down, we begin by vacuuming each room. Starting with a larger vacuum, we then use a smaller one to capture all the fine dust particles. It’s crucial to clean into all the corners, along skirtings, doors, and any other areas where dust may have accumulated.
Finally, we wipe down each surface with a damp cloth to remove any remaining surface dust. While the property may require further cleaning upon our departure, our initial clean-up is typically thorough.
We also offer an additional professional builders clean service, although it’s often unnecessary. Some clients opt for this option to take an extra step and avoid having to clean themselves. You can find more information about the deep clean service and associated costs on our website.
Your home has undergone a full rewiring and is now safe and up-to-date with modern electrical standards! If you have any questions or need further assistance, don’t hesitate to reach out. We’re here to ensure your satisfaction and safety.